Day Two (Anchors Away) {Well, berthing lines
anyway.}
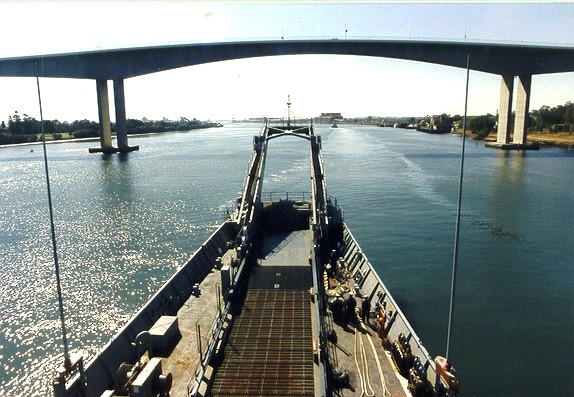
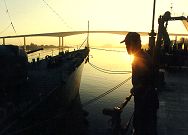
| Daybreak on the Brisbane river looking past the bows of
HMAS Hobart to the Gateway Bridge and beyond, the Pacific Ocean. |
 |
 |
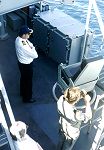
0800
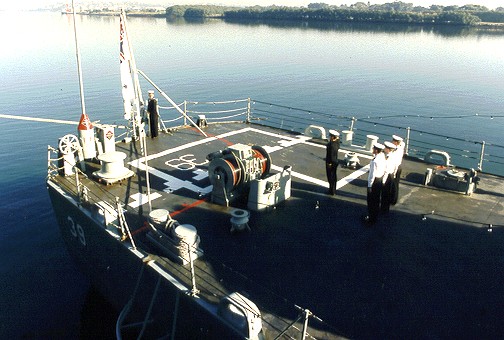
Colours Ceremony on the quarterdeck of HMAS Hobart. The White Ensign
hangs limp over the still waters of the early morning Brisbane River. |
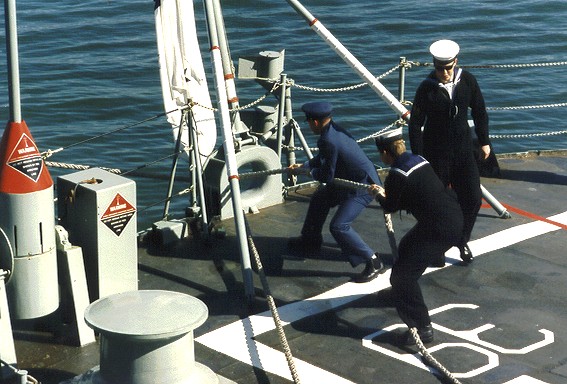
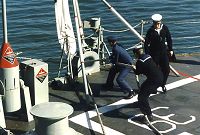
Not long after colours, Hobart prepares to get underway. Here, the
aft hawser is hauled aboard. Did you pick the odd man out in the work
party?
The boy in blue is Air Force. Unusual on a warship. |
 |
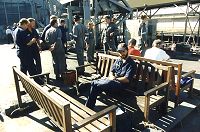 |
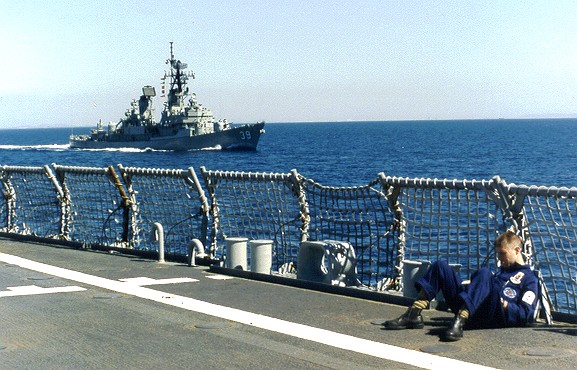
A moment of peace before the rush & organized bustle of departure.
Tony relaxes in the recreation area on the flight deck midships. This
is one of the few places where REAL wood can be found! It is also one
of the noisiest places onboard, being wedged between the funnel and
various fan housings, etc. |
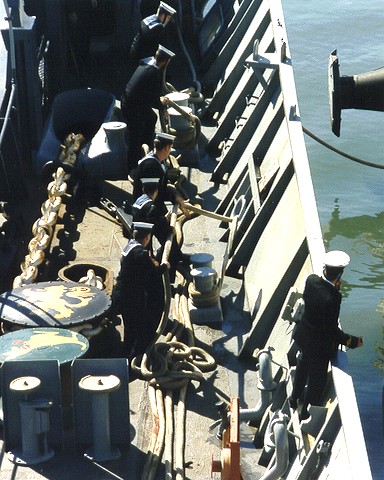
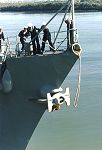
| The f'o'c'sle party haul in the bow line as Hobart severs her last
link with us and steams away down river to await our arrival in Moreton
Bay. |
 |
 |
Kanimbla's fo'c'sle party slips the for'ard line as we take our leave
of Brisbane. By one of life's little coincidences, the officer in charge
(Sub Lt. Brad Cooper), at right on the rail, was a cadet petty officer
at the Naval Reserve Cadet unit (T.S. Hawkesbury) when I was an instructor
there. |
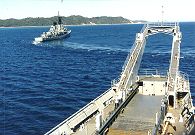
Underway at last.
05 deck (Top of the heap, above the bridge) allows a commanding view
of the river ahead as well as the beaching ramp on the foredeck. This
was one of the favourite positions for the seariders throughout the
voyage. |
 |
 |
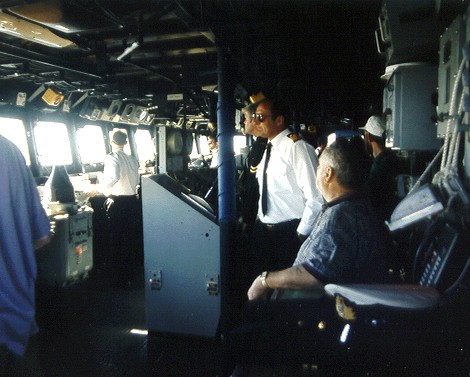
The Bridge.
A very busy place at a time like this. The skipper, in the white shirt,
has allowed one of the parents the comfort of the Captain's chair. |
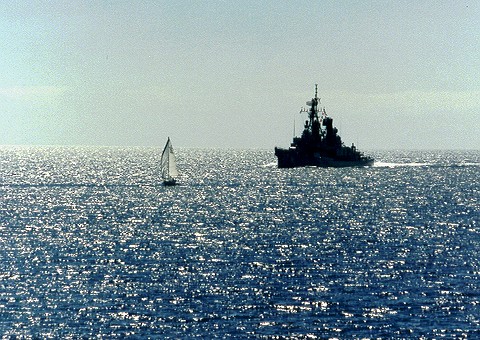
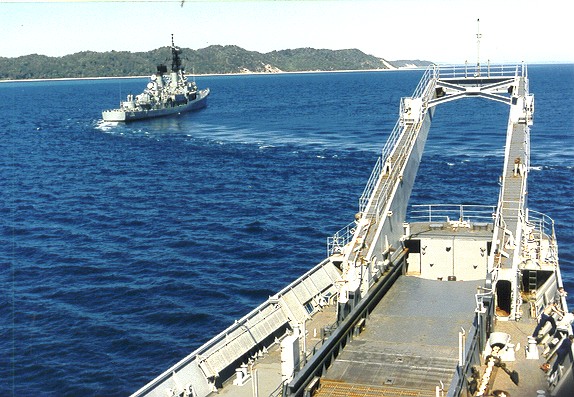
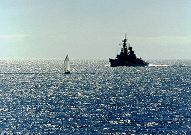
| As we cleared the mouth of the Brisbane River, a signal was sent to
Hobart to return astern of us as we steamed east along the main shipping
channel into the bay. It did so with considerable alacrity, looming
from a speck on the horizon to this scene in rapid time. We both passed
either side of the small yacht. |
 |
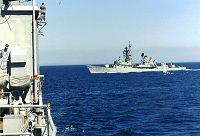 |
Hobart's skipper took us at our word and spun the ship around astern
of us using the hapless little yacht seen here & in the last photo
as a buoy. The yacht's skipper must have thought he was in the wars
for moment!
Note the crew member at top left. A good viewpoint for those with no
fear of heights. |
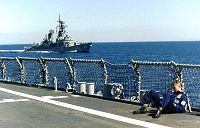
| With Hobart in position off our port quarter, the off-duty sailors
take their ease in various ways. This leading hand soaks the sun whilst
reading a good book. The weather was superb, but then it always is in
Queensland. :o) |
 |
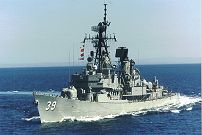 |
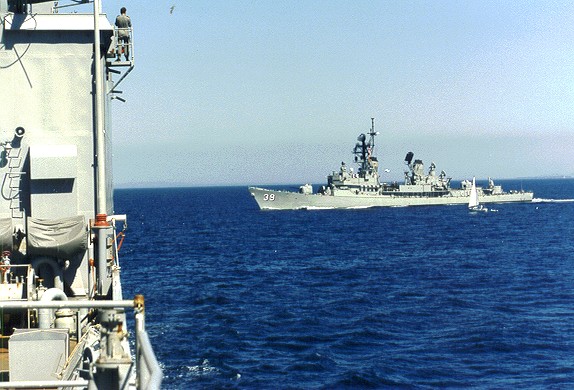
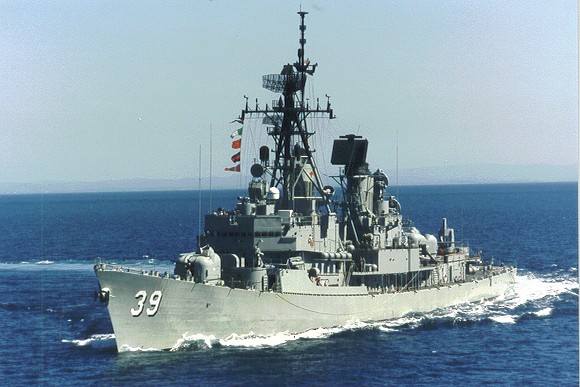
A classic shot of the DDG warship with HMAS Hobart completing a turn
off our starboard quarter. Although the Charles F. Adams class is quite
long in the tooth these days (1999), they are considered by many to
be one of the more interesting designs, especially with the graceful
sheerline of the maindeck. |
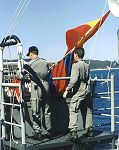
The signals crew on 04 deck were kept busy furiously & impressively
running the signals up & down the mast during the Officer of the
Watch manoeuvres in Moreton Bay.
For those unfamiliar with this operation, one signalman hauls the halyard
rapidly whilst the other one clips all the flags together to make up
the message to the other ship. It is always good to watch a well oiled
machine at work. |
 |
 |
The "Head Coach" (skipper) surveys the scene during the Officer of
the Watch exercises from the starboard bridge wingdeck. |
Hobart executing the manoeuvre which killed HMAS Voyager in 1964 when
it crossed the bows of the aircraft carrier, HMAS Melbourne during night
exercises off Jervis Bay, NSW resulting in a loss of 82 lives.
It is now practised whenever possible. |
 |